Using a Bahtinov Mask on a Mirrorless Camera Lens for Astrophotography
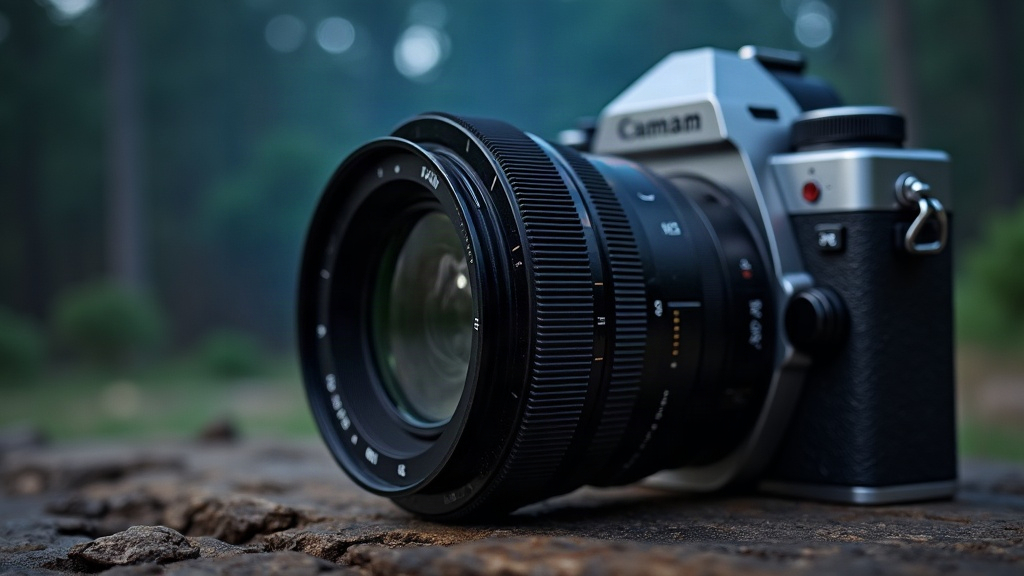
Getting Pinpoint Stars with a Bahtinov Mask on a Mirrorless Lens
Nailing sharp stars with a mirrorless lens is one of the toughest parts of wide-field astrophotography. You point your camera at the night sky, zoom into live view, squint at a tiny white dot on a 3-inch LCD, and hope for the best. Most of the time, you’re wrong. A Bahtinov mask fixes this almost instantly. It turns an invisible focus error into something you can actually see on screen, no guessing required. This guide covers exactly how to attach, use, and troubleshoot one on a mirrorless lens so you don’t waste another clear night on soft, blurry frames.
What a Bahtinov Mask Actually Does
A Bahtinov mask is just a flat panel with three sets of angled slits, and you clip or strap it over the front of your lens. Point it at a bright star and the slits produce a diffraction pattern: three spikes radiating out in an X-like shape. Two of those spikes stay put. The third one slides left or right as you turn the focus ring. When that moving spike lands dead center between the other two, your focus is as close to perfect as the laws of optics allow. Far more reliable than squinting at a star on a small screen and guessing whether it looks “sharp enough.”
Why does this matter so much? Because wide-field astrophotography has zero tolerance for soft focus. A star that’s even slightly out of focus doesn’t look “a little blurry,” it turns into a bloated, mushy blob, and that’s enough to wreck an otherwise perfect shot of the Milky Way, a meteor streaking overhead, or a long star-trail sequence.
Why Mirrorless Lenses Need This More Than You’d Think
Autofocus is dead weight at night. There’s simply no contrast for the camera to grab onto in a field of black sky and pinprick stars. And those little infinity marks printed on the lens barrel? Don’t trust them. They’re notoriously unreliable, especially on modern focus-by-wire mirrorless lenses that don’t even have a hard mechanical infinity stop anymore. You turn the ring and it just keeps going.
So most mirrorless shooters fall back on zooming into live view and eyeballing a star until it looks tight. The problem is that at typical screen resolution, “looks tight” can still be 10-20% off true focus, enough to visibly soften stars once you check a 100% crop later on your laptop. By then it’s too late, the shot’s done.
A Bahtinov mask removes that guesswork completely. That’s exactly why it’s become standard kit for serious night photographers and astrophotographers.
How to Use a Bahtinov Mask on a Mirrorless Lens
1. Pick the Right Size
Masks are sold by filter thread diameter or by clip-on size. Check your lens barrel, it’s usually printed right there (67mm, 77mm, 82mm, whatever). Buy a mask to match, or just grab a universal one with a stretchy rubber band that fits over a range of lens diameters. If you own more than one lens, the universal version saves you from buying three or four separate masks.
2. Set Up Your Camera
- Switch the lens to manual focus (MF).
- Set the camera to Manual exposure mode.
- Open up to a wide aperture, f/2.8 to f/4, and push ISO to 1600-6400 so the target star actually shows up in live view.
- Turn on focus magnification in live view, 5x or 10x zoom.
3. Target a Bright Star
Aim for the brightest star you can find, ideally sitting at least 15-20 degrees above the horizon (lower than that and atmospheric distortion starts messing with your pattern). Vega, Sirius, Capella, or even a bright planet like Jupiter all work fine for this.
4. Attach the Mask and Read the Pattern
Fit the mask onto the lens, frame the star in the center of your live view, and zoom in digitally. You should see three diffraction spikes forming an asterisk, or roughly an X shape. Now slowly rotate the focus ring and watch:
- Center spike off to one side? You’re out of focus.
- As you get closer, that center spike creeps toward the middle.
- At true focus, it sits exactly between the two outer spikes, perfectly bisecting the angle.
5. Lock It In
Once it’s centered, stop. Don’t touch the focus ring again. Remove the mask carefully, without bumping the lens barrel in the process, then fire off a test shot and zoom in at 100% to confirm you’ve got pinpoint stars.
Common Mistakes to Avoid
- Touching the focus ring after removing the mask. One accidental nudge and all that careful work is gone.
- Using a dim star. Faint stars barely produce visible spikes, and narrower apertures make this worse.
- Forgetting about temperature drift. Metal lens barrels contract as the night cools down, which can shift focus ever so slightly. Recheck every hour or two on longer sessions.
- Skipping the gaffer tape. Once focus is locked, tape the ring down. It stops accidental shifts when you’re fumbling with the camera in the dark at 2am.
Alternative: No Bahtinov Mask Handy?
Forgot your mask at home? You can still get close by zooming into live view on a bright star and nudging the focus ring back and forth until the star looks as small and tight as possible. It works, but expect more trial and error, and less precision, especially on fast wide-angle lenses where a shallow depth of field hides small focus errors more than you’d like.
Conclusion
A Bahtinov mask costs almost nothing, weighs almost nothing, and does one job extremely well: nailing manual focus on a mirrorless lens in the dark. Instead of guessing from a fuzzy live view image, you’re reading an actual diffraction pattern on a bright star, and that difference shows up immediately in sharp, pinpoint stars across your frame. Toss one in your camera bag next to your headlamp and spare batteries. For the price, it might be the single best upgrade you make to your nightscape kit.