Photograph the Orion Nebula from a Bortle 6 Backyard in Winter
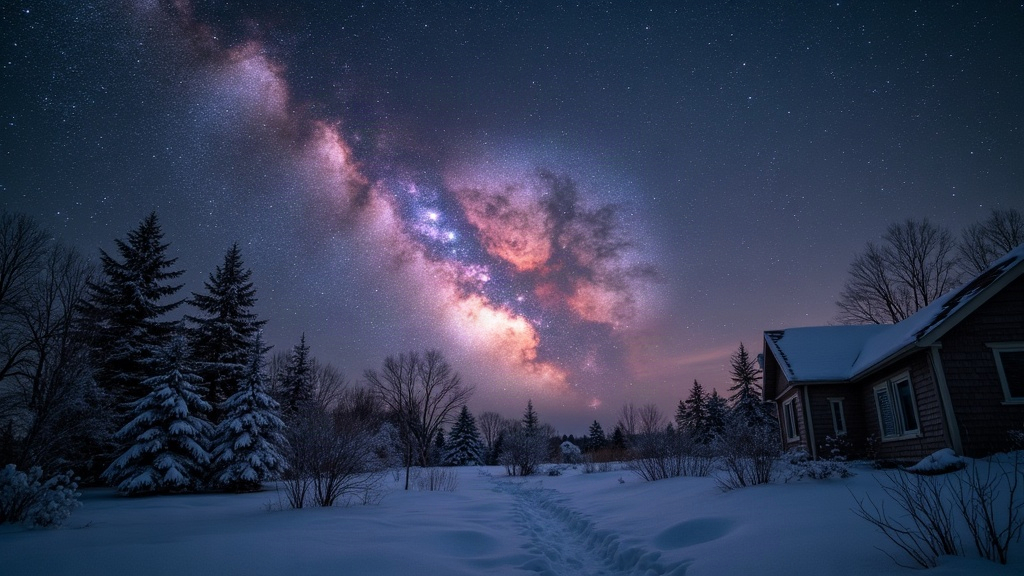
Yes, you really can shoot the Orion Nebula (M42) from a Bortle 6 backyard in winter, and honestly, it might be the single best deep sky target for anyone stuck under suburban skies. Orion is bright enough to cut straight through that orange glow, and winter nights, long, dry, and unusually transparent, give you the perfect window to capture it. Below is the gear, the settings, and the processing tricks that make this possible even when your sky is anything but dark.
Why Orion Works So Well in Bortle 6 Skies
Not every deep sky object is worth chasing from a light-polluted yard. Orion is the exception, and here’s why:
- High surface brightness. M42’s core ranks among the brightest nebulae in the entire sky. You can spot it through a pair of binoculars from your driveway in the suburbs.
- Winter transparency. Cold, dry air from December through February cuts down atmospheric scattering, and that matters even more in Bortle 6 than it does at a dark-sky site.
- High altitude. For northern hemisphere observers, Orion climbs close to the zenith. That means less light pollution and less atmospheric thickness compared to targets that hug the horizon.
Gear That Actually Matters
You don’t need a $3,000 rig sitting in your garage to pull off a great shot. Here’s a setup that’s actually realistic:
- Camera: Any modern DSLR or mirrorless body does the job, think Canon R6, Nikon Z6, or a dedicated astro camera like the ZWO ASI533MC Pro.
- Lens or telescope: A 200-400mm telephoto on a star tracker, or a compact refractor (60-80mm) riding on an equatorial mount.
- Mount: A star tracker (Sky-Watcher Star Adventurer, iOptron SkyGuider Pro) is plenty. You don’t need a full GoTo system for this particular target.
- Light pollution filter: This is the single biggest upgrade you can make for Bortle 6 shooting. Go with a dual narrowband filter (Optolong L-eXtreme or Ha/OIII) if you’re running a dedicated astro camera, or a broadband filter (Optolong L-Pro) if you’re on a DSLR.
Camera Settings That Work
M42 has a punishing dynamic range: a blazing hot core (the Trapezium) wrapped in faint, ghostly outer wisps. A single exposure just can’t handle both. So plan for stacked, layered captures instead:
- ISO: 800-1600 for most cameras (run a quick test to find your own camera’s sweet spot for read noise).
- Exposure length: 30-60 second subs so you don’t clip the bright core. Aim for 60-90 minutes of total integration time.
- Core protection: Grab a separate batch of 5-10 second exposures to rescue the blown-out Trapezium region later, during HDR blending.
- Focus: Use a Bahtinov mask on a bright neighboring star, Rigel works well, and nail your focus before the real imaging session starts.
Fighting Bortle 6 Light Pollution
Filters help a lot, but a handful of workflow habits make just as much difference:
- Shoot when Orion is highest. Local midnight to 2 AM in January is the sweet spot, once it’s cleared the worst of the horizon glow.
- Use dithering between subs if you’re running dedicated astro software like N.I.N.A. or APT. It knocks down fixed-pattern noise, which shows up more aggressively in bright-sky data.
- Calibrate properly. Always shoot dark frames, flat frames, and bias frames. Flats matter a lot in light-polluted skies since they correct the glow that vignetting tends to amplify.
- Avoid the moon. Even a target as bright as M42 benefits from a new-moon night. Scattered moonlight adds a gradient of noise that’s genuinely painful to remove afterward.
Processing Tips for Light-Polluted Data
Stacking software like DeepSkyStacker or PixInsight does most of the heavy lifting, but a few extra steps specifically help with Bortle 6 data:
- Remove the gradient first. Tools like PixInsight’s DBE, or the free GraXpert, flatten out the sky-glow gradient before you touch the stretch.
- Stretch in stages. A non-linear stretch (masked stretch, or Curves) beats a single aggressive Levels pull every time, since a hard pull just amplifies background noise.
- Blend your HDR core. Layer in those short Trapezium exposures using layer masks in Photoshop, or PixelMath if you’re working in PixInsight.
Common Mistakes to Avoid
- Overexposing every sub trying to squeeze out “more nebula.” That just blows out the core for good.
- Skipping calibration frames because “it’s just one target.” Light pollution gradients actually need flats more than dark-sky targets do, not less.
- Shooting too early or too late, when Orion sits low and has to fight through more atmosphere and more light dome.
Conclusion
Orion proves you don’t need a dark-sky site to do real astrophotography. What you need is the right target, the right filter, and a bit of patience on cold winter nights. Pair a tracker with a light pollution filter and a carefully planned exposure sequence, and a Bortle 6 backyard can turn out images of M42 that genuinely hold their own against shots from far darker locations.