How to Plan a Dark-Sky Camping Trip Around the New Moon
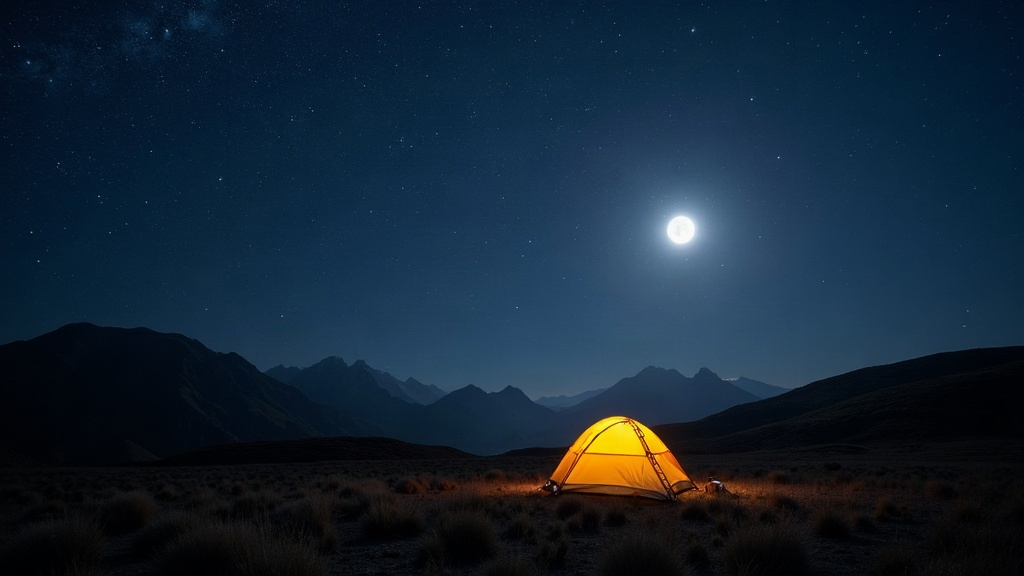
Planning a dark-sky camping trip around the new moon is, hands down, the most reliable way to guarantee a jaw-dropping Milky Way view. The idea itself isn’t complicated: book your trip within a few nights of the new moon, pick a site with minimal light pollution and a clear shot of the galactic core, then keep an eye on the weather right up until you leave. Line up those three things and you’ll see the Milky Way’s bright band stretching overhead in a way most people go their whole lives without witnessing.
Why the New Moon Matters So Much
Moonlight is the single biggest enemy of faint deep-sky objects like the Milky Way. Even a half-moon can wash out the subtle structure of the galactic core, turning what should be a dense, textured band into a faint gray smudge. It’s genuinely that fragile.
- New moon night: zero moonlight, the darkest sky you’ll get
- 3 days before/after new moon: still excellent, since the moon sets early or hasn’t risen yet
- Quarter moon or later: Milky Way visibility drops off fast
A practical rule of thumb: aim for the 5-night window centered on the new moon. That gives you some wiggle room if weather forces a date change, without giving up sky darkness.
Step 1: Find the Right New Moon Date
Check a moon phase calendar or app (TimeAndDate, Stellarium, Photopills) and jot down new moon dates for your target months. Spring through early autumn (March through October in the Northern Hemisphere) is prime time, because the galactic core, the brightest and most photogenic chunk of the Milky Way, sits above the horizon during convenient night hours.
- Best months: April through September
- Best time window: 11 p.m. to 3 a.m., when the core climbs highest
- Avoid: winter in mid-northern latitudes, when the core barely clears the horizon all night
Step 2: Pick a Genuinely Dark Site
Not every “rural” spot is actually dark enough. People assume anywhere far from a city qualifies, but that’s often wrong. Use the Bortle scale to judge sky quality instead. You want Bortle 1 to 3 for a true Milky Way spectacle.
- Use the Light Pollution Map (lightpollutionmap.info) to find Bortle 1–3 zones near you
- Favor International Dark Sky Places. Certified parks like Natural Bridges (Utah), Cherry Springs (Pennsylvania), or Exmoor (UK) already have infrastructure built for astrotourists
- Check for a clear southern horizon (Northern Hemisphere), since the galactic core sits low in the south
- Avoid campsites near highways, cities, or resort lighting. Even a distant glow on the horizon can wreck wide shots
Step 3: Watch the Weather, Not Just the Calendar
A perfect new moon date is worth nothing if clouds roll in on the night. Book flexible campsites, or keep a backup location within driving distance, just in case.
- Check cloud cover forecasts 3–5 days out (Clear Outside and Windy.com are solid for astronomy use)
- Look specifically at cloud cover by altitude. High cirrus can still ruin long-exposure shots even on a night that “looks clear” from the ground
- Humidity and dew point matter too: high humidity fogs up lenses and telescope optics overnight, usually right when you least want it to
Step 4: Pack for Stargazing, Not Just Camping
- Red headlamp to preserve night vision
- Warm layers, since deserts and mountains can drop 20–30°F after sunset even in summer
- Star chart app (Stellarium, SkySafari) set to night mode
- Camera with manual mode if you’re shooting: wide-angle lens (14–24mm), tripod, intervalometer
- Reclining chair or sleeping pad for comfortable naked-eye viewing. Honestly, the Milky Way rewards patience far more than it rewards expensive gear
Step 5: Time Your Night Correctly
Arrive before dark so you can set up camp in daylight. Fumbling with tent stakes under a dim red light wastes prime viewing time, and nobody wants to be doing that at 10:45 p.m. Let your eyes adapt for at least 20–30 minutes without peeking at your phone at full brightness. The galactic core typically becomes properly photogenic 1–2 hours after true astronomical darkness sets in, so resist the urge to rush your shots right at dusk.
Common Mistakes to Avoid
- Booking only the exact new moon night with zero backup for bad weather
- Choosing a site that’s dark overall but has an obstructed southern view
- Forgetting that even a small dome of light pollution on the horizon kills foreground contrast in photos
- Ignoring moonrise times on the “surrounding” nights. A late-rising moon a few days after new moon can still leave you a solid 3–4 hour dark window, so don’t write those nights off too quickly
Conclusion
A great dark-sky trip really just comes down to stacking the odds in your favor: schedule around the new moon, confirm your site’s Bortle rating, track the weather obsessively in the final days, and show up early enough to let your eyes and gear adjust before the galactic core climbs into view. Get that combination right, and the Milky Way will pay you back with one of the most memorable nights you’ll spend outdoors, period.