What Causes Star Trails in Unguided Milky Way Photos and How to Fix
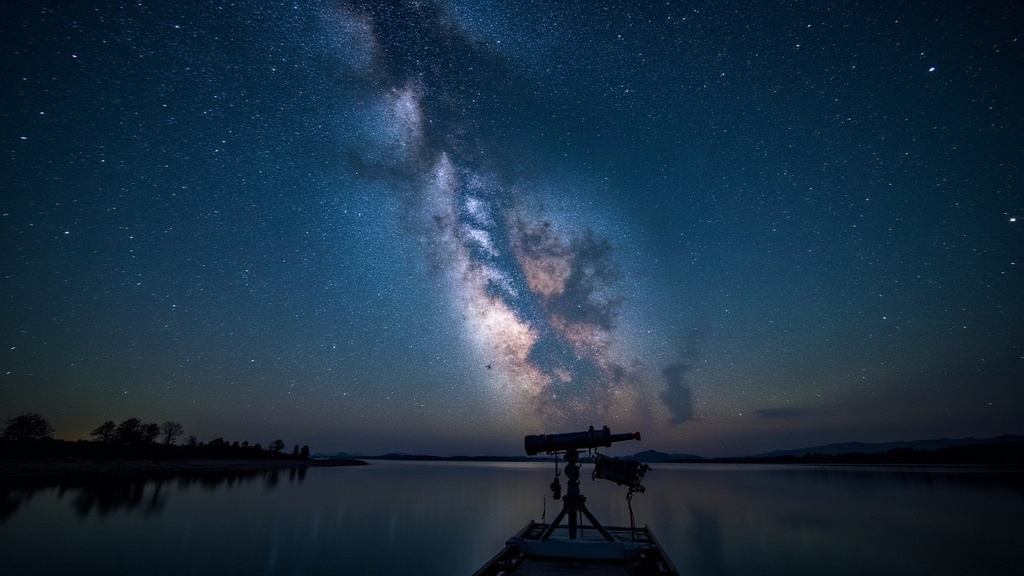
If your Milky Way shots come out with little streaks instead of clean, pinpoint stars, you’re not doing anything exotic wrong. It’s almost always some combination of Earth’s rotation, an exposure that ran too long, a focal length that’s too aggressive, or a wide lens pushed past what it can actually resolve sharply. The fix isn’t complicated either: figure out the real maximum exposure time your gear can handle, open up your aperture, raise ISO instead of leaving the shutter open longer, and if none of that’s enough, bring in a star tracker. Here’s the full rundown of what’s going on and how to deal with it.
Why Star Trails Appear in Unguided Shots
Here’s the thing nobody tells beginners clearly enough: your camera sits still relative to the ground, but the sky overhead is rotating at about 15 degrees per hour the entire time. Give it enough seconds of exposure, and that rotation shows up as a streak instead of a dot. Three things decide how obvious this trailing gets:
- Exposure time. The longer your shutter stays open, the more motion gets baked into the frame.
- Focal length. A telephoto lens magnifies star movement the same way it magnifies a distant bird or a mountain ridge.
- Sensor resolution. A 45MP body will show trailing at shutter speeds that would’ve looked totally fine on an old 12MP DSLR.
The 500 Rule (and Why It’s Outdated)
Most people start out with the “500 Rule”: take 500, divide it by your focal length (adjusted for crop sensor), and that’s your safe shutter speed in seconds. A 24mm lens on full frame, for instance, gives you 500 ÷ 24 ≈ 20 seconds.
Sounds reasonable, except it was built around film-era resolution and small prints. Put that same 20-second exposure on a modern 24 to 45MP sensor and zoom to 100%, and the trailing is obvious long before you hit 20 seconds at 24mm.
Use the NPF Rule Instead
The NPF Rule is the more honest version of this math. It factors in aperture (N), pixel pitch (P), and focal length (F), which matters a lot more on today’s sensors than it did a decade ago. You don’t need to calculate it by hand: apps like PhotoPills or Stellarium Plus do it for you. Enter your camera and lens, and you’ll get a real-world max exposure, usually 30-40% shorter than what the 500 Rule promised.
Common Causes of Trails and Their Fixes
1. Exposure Too Long for Focal Length
Fix: Pull your shutter speed down to the NPF-calculated number, then make up the lost light with a wider aperture (f/1.8 to f/2.8) or higher ISO (3200-6400 works fine on most modern full-frame bodies).
2. Using a Telephoto or Standard Zoom
A 50mm lens trails noticeably faster than a 14mm. If you’re shooting the Milky Way at anything beyond a mild wide-angle, you’re eating into your exposure budget fast. Fix: Grab the widest lens in your bag, 14-24mm ideally, for single-exposure shots.
3. High-Resolution Sensor Revealing Pixel-Level Motion
This one catches people off guard. A 45MP sensor will flag trailing at an exposure time that looked perfectly sharp on a 20MP camera, same lens, same settings. Fix: Shorten your exposure beyond what a generic calculator tells you, or just downsample for web use in post.
4. Loose Tripod or Vibration
A gust of wind, a slightly loose ball head, or pressing the shutter button with your finger can all introduce blur that looks exactly like star trailing, even though it has nothing to do with Earth’s rotation. Fix: Use a solid tripod, hang a weight off the center column if it’s windy, and fire the shutter with a 2-second timer or a remote.
5. Autofocus Drift Mid-Shoot
Temperature swings during a long session can nudge focus just enough to soften your stars. It looks like trailing, but it’s actually a focus problem in disguise. Fix: Go manual focus, nail it on a bright star using live view magnification, then physically tape the focus ring so it can’t drift.
When You Need a Star Tracker
Say you want 60 to 300 seconds of exposure for serious Milky Way detail without trailing. At that point, no unguided camera trick saves you, you’ll just end up stacking noise instead of stars. This is where a compact tracker like the Sky-Watcher Star Adventurer or iOptron SkyGuider earns its keep. It cancels out Earth’s rotation, so you can shoot longer at lower ISO and get a much cleaner result. If you’re planning a foreground-separate panorama blend, this is basically non-negotiable.
Quick Checklist Before You Shoot
- Run an NPF-based app for your real max exposure, don’t trust the 500 Rule on its own
- Use the widest aperture and widest lens you own
- Focus manually and lock it down, don’t trust autofocus to hold
- Stabilize the tripod against wind and vibration
- If you’re pushing past 15-20 seconds, start thinking about a tracker
Conclusion
At the end of the day, star trails are just physics doing its job: the sky moves, and your camera settings decide how much of that movement ends up visible in the frame. Get your exposure limits right with the NPF Rule, shoot wide and fast, lock focus by hand, and keep your tripod steady, and you’ll get tack-sharp stars without a tracking mount. And when you do hit that 15-20 second ceiling, you’ll know exactly what piece of gear to reach for next.