How to Collimate an 8-Inch Newtonian After Transporting It in a Car
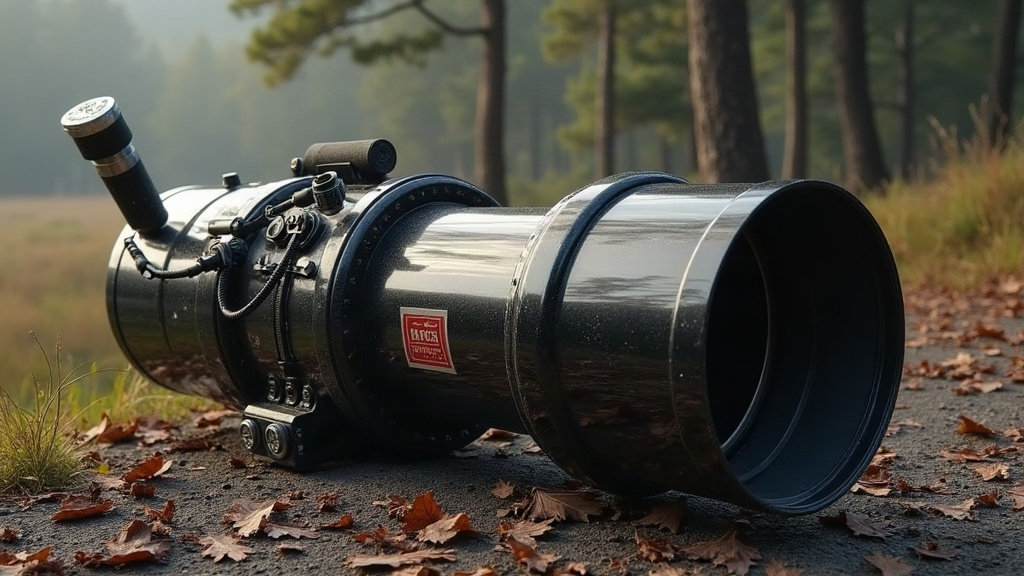
If your 8-inch Newtonian looked a bit soft or threw lopsided star shapes after the drive out to a dark site, don’t panic. It’s almost certainly just knocked out of collimation. The fix is quick: 15 to 20 minutes in the field with a basic collimation tool, and you’re back in business. Here’s the whole process, step by step.
Why Car Transport Knocks Collimation Out
A Newtonian relies on two mirrors, a big primary sitting at the bottom of the tube and a small flat secondary perched near the top, and both have to line up with the focuser and with each other almost perfectly. It doesn’t take much to throw that off. A few culprits:
- Road vibration from bumps, potholes, and rough pavement
- Sudden braking or hard acceleration at a stoplight
- Temperature swings, like going from a sun-baked trunk to crisp 40°F night air
- Shifting during loading and unloading, especially if the scope slides around in the back seat
Any of these can nudge a primary mirror collimation screw or tilt the secondary holder just enough to ruin a star image. And an 8-inch scope at f/4.9 to f/6 is particularly touchy, since faster focal ratios amplify even tiny misalignments.
What You’ll Need
- A collimation tool, whether that’s a Cheshire eyepiece, a laser collimator, or a plain collimation cap
- A Phillips or hex screwdriver (check your scope’s screw heads before you leave home, not after)
- A flashlight or, better, a red headlamp so you don’t wreck your night vision
- 15 to 20 minutes, done before it gets fully dark
Step 1: Check the Secondary Mirror Alignment First
Don’t jump straight to the primary. First confirm the secondary mirror is centered under the focuser and showing you the full primary.
- Pull the eyepiece and drop in a collimation cap or Cheshire tool.
- Peer through the sight hole. You should see the secondary mirror sitting dead center in the focuser tube, and inside that reflection, the primary mirror should look fully visible and centered too.
- If the secondary looks shifted to one side, or part of it seems cut off, adjust the three secondary screws (or the single center screw, depending on your holder) in small steps, a quarter turn at a time.
In practice, car travel usually hits the primary harder than the secondary, since the secondary holder tends to be more rigidly locked down. Check both anyway. It only takes a minute.
Step 2: Collimate the Primary Mirror
This is where most of the real work happens after a drive.
- With your Cheshire or laser tool in place, look for the reflection of the primary’s center spot, that small ring or dot marker etched or stuck onto the mirror.
- Using the three collimation knobs at the back of the tube, near the primary mirror cell, adjust them one at a time, not all at once.
- If you’re using a laser collimator: turn the knobs until the laser dot sits exactly on the primary’s center mark, then bounces back and lands on the center of the laser’s own target ring.
- If you’re using a Cheshire: adjust until the cross-hair or sight-hole reflection lines up precisely over that center mark.
- Go slow. No more than a half-turn per knob at a time, then check your progress before turning again.
Step 3: Confirm with a Star Test
A collimation tool gets you most of the way, maybe 90 percent, but nothing beats a real star to confirm it.
- Center a moderately bright star at high power, 150x or more.
- Defocus it slightly. You’re looking for a clean set of concentric rings wrapped around a central dot, the classic diffraction pattern.
- If those rings look lopsided or bunched up on one side, the alignment still needs a nudge, usually just a small tweak on one or two of the primary knobs.
- Re-center, defocus again, and check for symmetry. Repeat until the rings look even all the way around.
Tips to Reduce Collimation Drift During Future Transport
- Loosen the tube rings a touch before loading the OTA into the car, and pad it with foam rather than clamping it down bone-tight against vibration.
- Carry the tube vertically in a padded case whenever you can. It flexes far less than lying flat across a seat or trunk floor.
- Check your collimation screws for snugness before you even leave the driveway. Loose screws drift a lot more than tight ones, every single time.
- Lock your collimation knobs if your mirror cell has that option. Plenty of premium cells include lock screws specifically to stop this kind of accidental shift.
Conclusion
An 8-inch Newtonian is a genuine light bucket for deep-sky work, but its mirrors just don’t love being bounced around in a car. A quick secondary check, a careful primary collimation with whatever tool you’ve got, and one last star test will have your optics razor sharp again in under 20 minutes. That’s a small price to pay for a night of crisp, well-focused views.